One problem with this dryer vent is that there is nothing to attach the pipe from the dryer to (there is no flange). You basically just stick the dryer vent in that hole, which doesn't impress me.
Next, I climbed into the attic. It was a bit like an Indiana Jones movie as far as the cob webs went:
However, it was still not up to code. There was about five feet of flexible 3" pipe. Code is 4 inch and should not be flexible. I climbed up onto the roof to inspect the venting and found this:
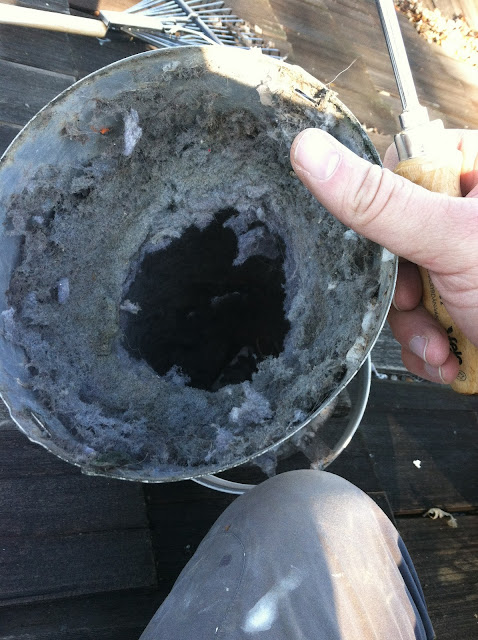
That perfectly cut hole is, I think, from the dryer snake I used a few days ago ----- about the perfect size.
I ended up pulling out all of the dryer vent, and replacing it with 4" round solid tubing in 5 foot sections. Additionally, I cleaned out all of the lint from the roof vent and put in a standard elbow at the dryer side to make attaching the vent from the dryer easier. Not super impressive, but this is the new pipe coming up into the attic and making a slight bend to exit out the roof.
Here it is exiting:
While I was up on the roof, I removed one of two non-functional satellite dishes, swept the leaves off, cleaned out some of the gutters and took off our above pictured "Home Saver Pro" ----- chimney cover. And gave her a good cleaning, coat of rust inhibiting primer and a final coat of rust inhibiting charcoal grey paint.
Lastly, I made a cover out of wood to repair the square hole I cut into the wall:


No comments:
Post a Comment