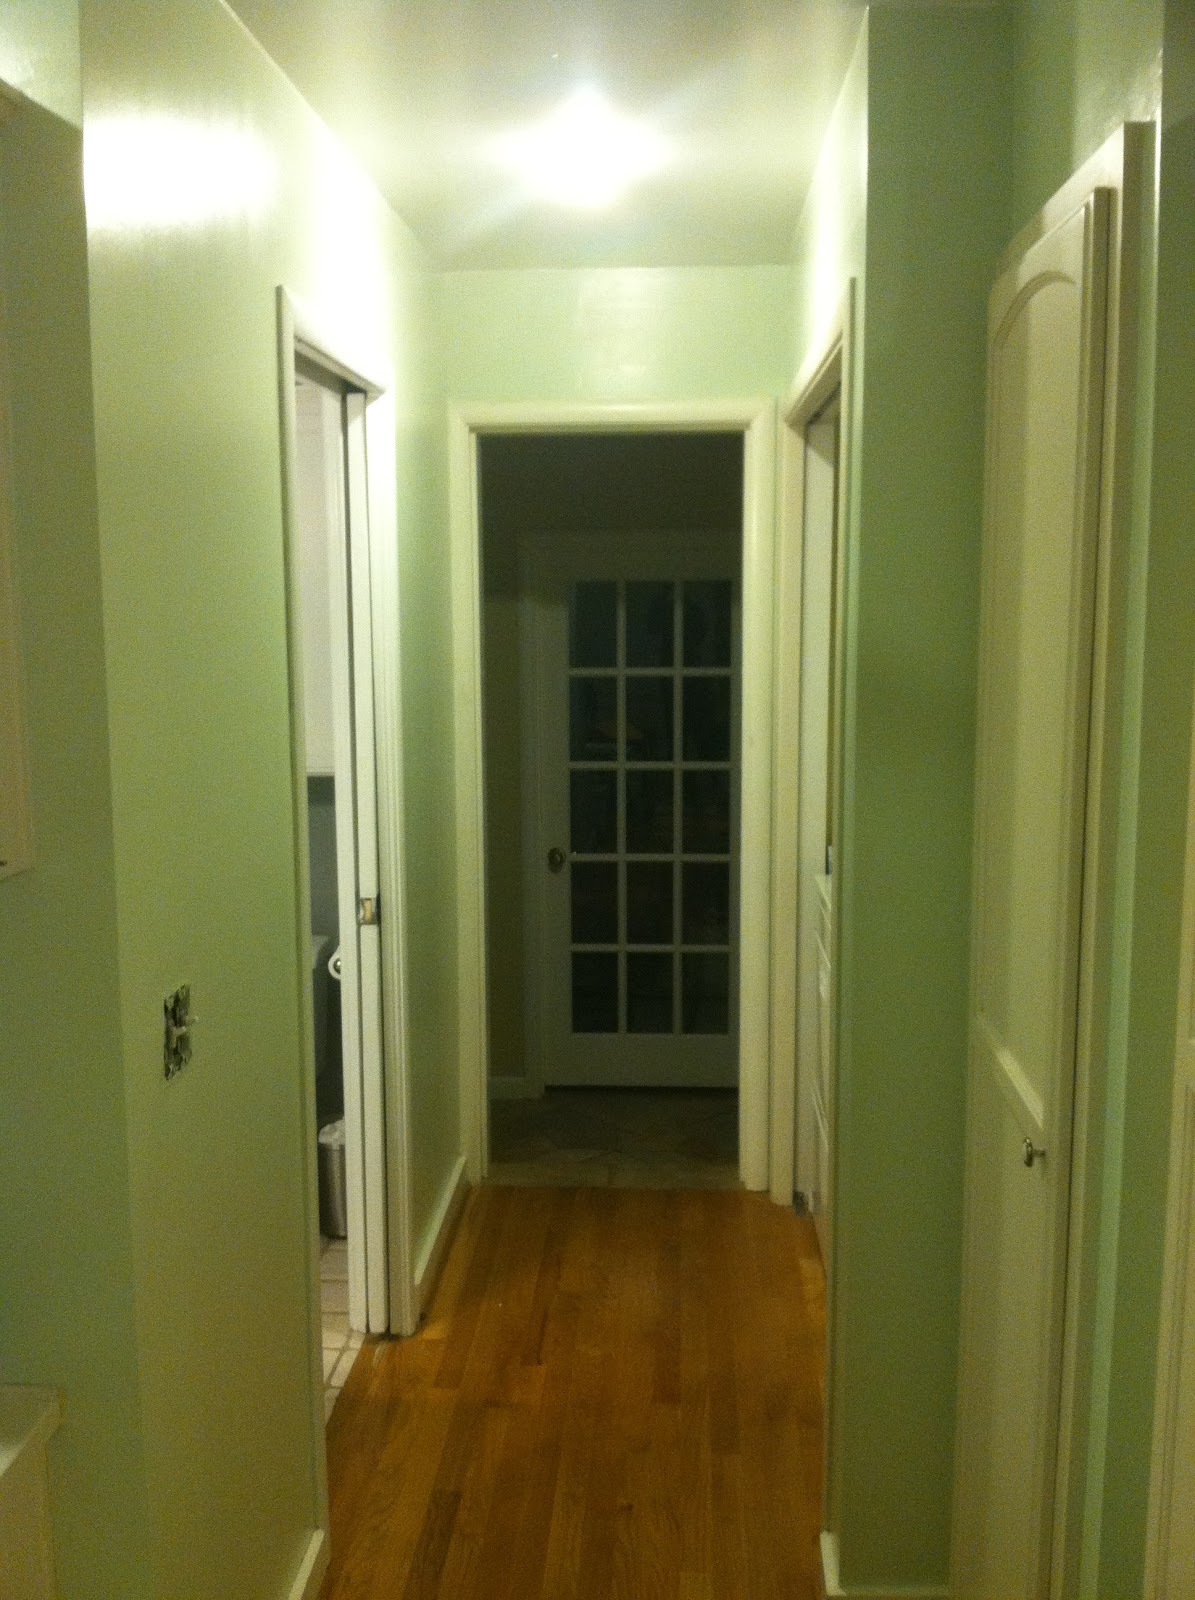
Monday, February 11, 2013

The kitchen pantry

Nearly from the beginning of moving in, I've been frustrated with our kitchen pantry. It's super narrow and deep. What's worse, whomever built it added this 6 inch "wall" to the right side which makes it even narrower and prevented me from adding pull out drawers. So, like most folks, we use the first 4 inches of shelf space, when we buy new food we shove it in and whatever was there somehow finds its way to the back of the shelf. Rachel forbade me from sharing the oldest out of date food item I found when clearing out the shelves.

Two weeks ago I began disassembling the mini "wall" thinking there must be a logical reason for its existence. Perhaps there was, but after removing it, I haven't figured out what it was.

Here's the breakdown of how it happened:

This pic is after I began getting carried away with demolition --- the door and door frame have already been removed and I've begun to tear off the sheet rock at the bottom of the door jamb:


Stuff hiding behind the wall:


Here's another pic of the wall:


Sheet rock removed, two 2x4's:


2x4's removed, shelf supports removed

Added new spacers to make mounting the ball-bearing drawer slides easier and to space the slides out from the wall so that they'll clear the door trim:


First three drawers made and installed:


Everything put back together, all I need to do now is paint:


Friday, February 8, 2013

The hay is gone!

This no longer exists:


My parents came over on Super Bowl Sunday and my dad spray painted the ceiling in Behr Ultra semi-gloss white. Monday night, I began painting the hay wall a minty color.


Tuesday night after work, I finished painting the kitchen:


For now, were going to leave the tan lower half, were thinking either white or maybe even a grey. Now, the cabinets all need to be painted glossy white. Nothing like a fresh coat of paint to make old dirty cabinets look worse. 

Monday, November 26, 2012

Red door

In the days before the family arrived for Thanksgiving, I got around to painting the front door. Our black door was beat up, and the handle had seen better days.

Here's a before of the handle:


After painting it Hammered Oil Rubbed Bronze: 


We had bought this brass pineapple awhile ago, like months and months ago. Apparently pineapples are welcoming. 


Anyway, here she is all done: 


Thursday, August 16, 2012

the Shop

Here's some photos of the garage, though I'm no longer referring to it as that. Garages contain cars or clutter and this really has none of that. It's a shop.

Built my last workbench and incorporated the metal drawer cabinets that I got off of Craigslist.

Still more work to be done, but it's really nice to have an organized place to play in.


Tuesday, August 14, 2012

Adeline's Nursery

We've posted a bunch of photos of this room in various stages of completion, but here it is in it's most recent and final stage.

Our theme for our little girl’s room was “woodland” and we incorporated that with various stuffed animals (foxes, owls, etc.) as well as some of the prints which were from etsy. But before we got started on the decorating, we pulled up the carpet and refinished the hardwood floors as well as painted over the dingy/dirty/ugly tan wall paper.

We wanted the room to be feminine for our little girly, but we didn't want a pink Pepto Bismol explosion. To combat the inevitable pink we brought in oranges and yellows, all in sherbet tones.

The best before/after in the room is the dresser which was $7 at a thrift store but it had really old and ugly yellow paint and a drawer was broken. We painted it glossy white around the tops and sides and the drawers themselves are a gradient of a coral color. Because we only needed a little paint we used the Home Depot $3 paint samples for the drawer fronts. Then, because the sample paint comes in flat sheen only, I sprayed them with a gloss clear spray paint.

We saved a bunch of money by getting most of the items at either IKEA, thrift stores or Craigslist. The room has a nice bright and cheery feel to it and we love playing with our little girl in there. There are some special family touches in the room, including the pennant flag banner made by Auntie, the embroidered squirrel, made by Mom, and the Raggedy Ann, made by Great Grandma.


Now the photos:


Rachel's Grandmother made this little Raggedy Anne:


Paolo the Fox series from etsy: 


Rachel needlepointed the little squirrel ---- which is hanging from a brass owl: 


It's pretty obvious Adeline loves it! Thanks for reading.


Crib: IKEA
Paint: Behr Ultra Custard Cream semi gloss with White trim and ceiling
Rug: Home Depot
Bookshelf: Craigslist - it came painted white so bonus! Though we added the wood effect backing
Dresser/changing table: Thrift store for $7 though it was hideous yellow and a drawer was broken.
Prints: Felix the Fox, and Paolo the Fox series in IKEA frames
Flag banner: Kaitlin, Rachel's sister made the awesome flag banner over the crib
Rocking chair: Craigslist
Floor lamp: IKEA


Monday, August 13, 2012

Master Bedroom: the DIY headboard


This post isn't about the silver ceiling tile headboard I had made for the Master bedroom about a year ago. Rachel wanted something "softer" ----- figuratively and literally.

We had online headboard shopped and nothing was cheap and I kept saying, "I could make that". For example this Target headboard for $300:


So finally, I got around to making it.

Materials:
3 2x2's from Home Depot @ $1.87 each ($5.61)
1 4x8 particle board @ $12
1 picture frame wire @ $2.50
1 pack picture frame mounts @ $2.50
2 yards of fabric $13
2 yards of thick batting $15
11 packs of upholstery nails @ $1.30 each ($14.30)

Total cost: $65

For our Queen bed, I made it 67" wide by 41" tall. The frame is pretty simple, then I screwed the sheet of particle board to it. I then used a router around the edges so that the fabric would wrap around a little smoother and make it look less like fabric wrapped around a board. The 2 x 2's give a nice depth and help add to the structure of it.


I mounted the picture frame hardware on the inside of the frame (rather than the back side) so that the hardware wouldn't be against the wall:


So here it is looking pretty decent pre-upholstery nails. The nails took a decent amount of time. I used a straight edge and a pencil to draw a line down the top and each side where I wanted the nails to go to help keep things straight. 

Also, I found by using needle nose pliers to hold the nail part it made things easier ---- the nails are about an inch apart: 


Anyway, here it is: 


Still planned are new matching table lamps and a sunburst mirror over the bed.

Wednesday, July 18, 2012

Kitchen

Take a good look, it's not going to look like this much longer:


Outdoor plumbing

On the side of our house, we have these pipes that leaked like crazy. Also, for some reason, the pipe comes up 4 feet then goes back down. Not sure why, perhaps it was so an old person could turn the water on and off without having to bend over? No idea.


I had re-wrapped the pipe in insulation last winter when we had the freezing temps because those pipes are just asking to freeze.

Was going to call a plumber, then decided to tackle it myself. An hour and a half later and it looked like this:


Used brass fittings ---- about every little piece in that photo cost over $10, so total price was around $80 and sore hands! But cheaper than a plumber.

More Garage stuff

So, I was browsing on Craigslist the other day and came across an ad for this: 


The perfect thing to hold all of my screws/bolts/etc. So I called her and she said she still had it and had some other cabinets like it too. She was cleaning out her dad's garage.

So I drove over there. She had two other cabinet units that had these small drawers. I asked her how much she wanted for all three, and she said, well, you know I think they're worth $40.

Done.

Got them home and into the garage ----- am going to build a workbench over them I think ---- the small unit might just sit on top and under the cabinets:


Small bin has built in dividers ---- the grey one has removal dividers:


Also, I restored this Wilton vise ---- stamped 12-46 (made in December 1946): 

Before: 


After: 


zip95864 is online now Report Post  Edit/Delete Message Reply With Quote Multi-Quote This Message Quick reply to this message